> ## Documentation Index
> Fetch the complete documentation index at: https://docs.gelato.cloud/llms.txt
> Use this file to discover all available pages before exploring further.
# Deploy your own rollup
This deployment path is for users who want to deploy their own rollup chain using our 1-click deployment feature. By the end of this guide, you'll have a testnet chain up and running in 30 minutes.
# Steps for Deployment
Head over to the official Gelato [RaaS
dashboard](https://app.gelato.cloud) & click on "Deploy 1-click
Rollup"
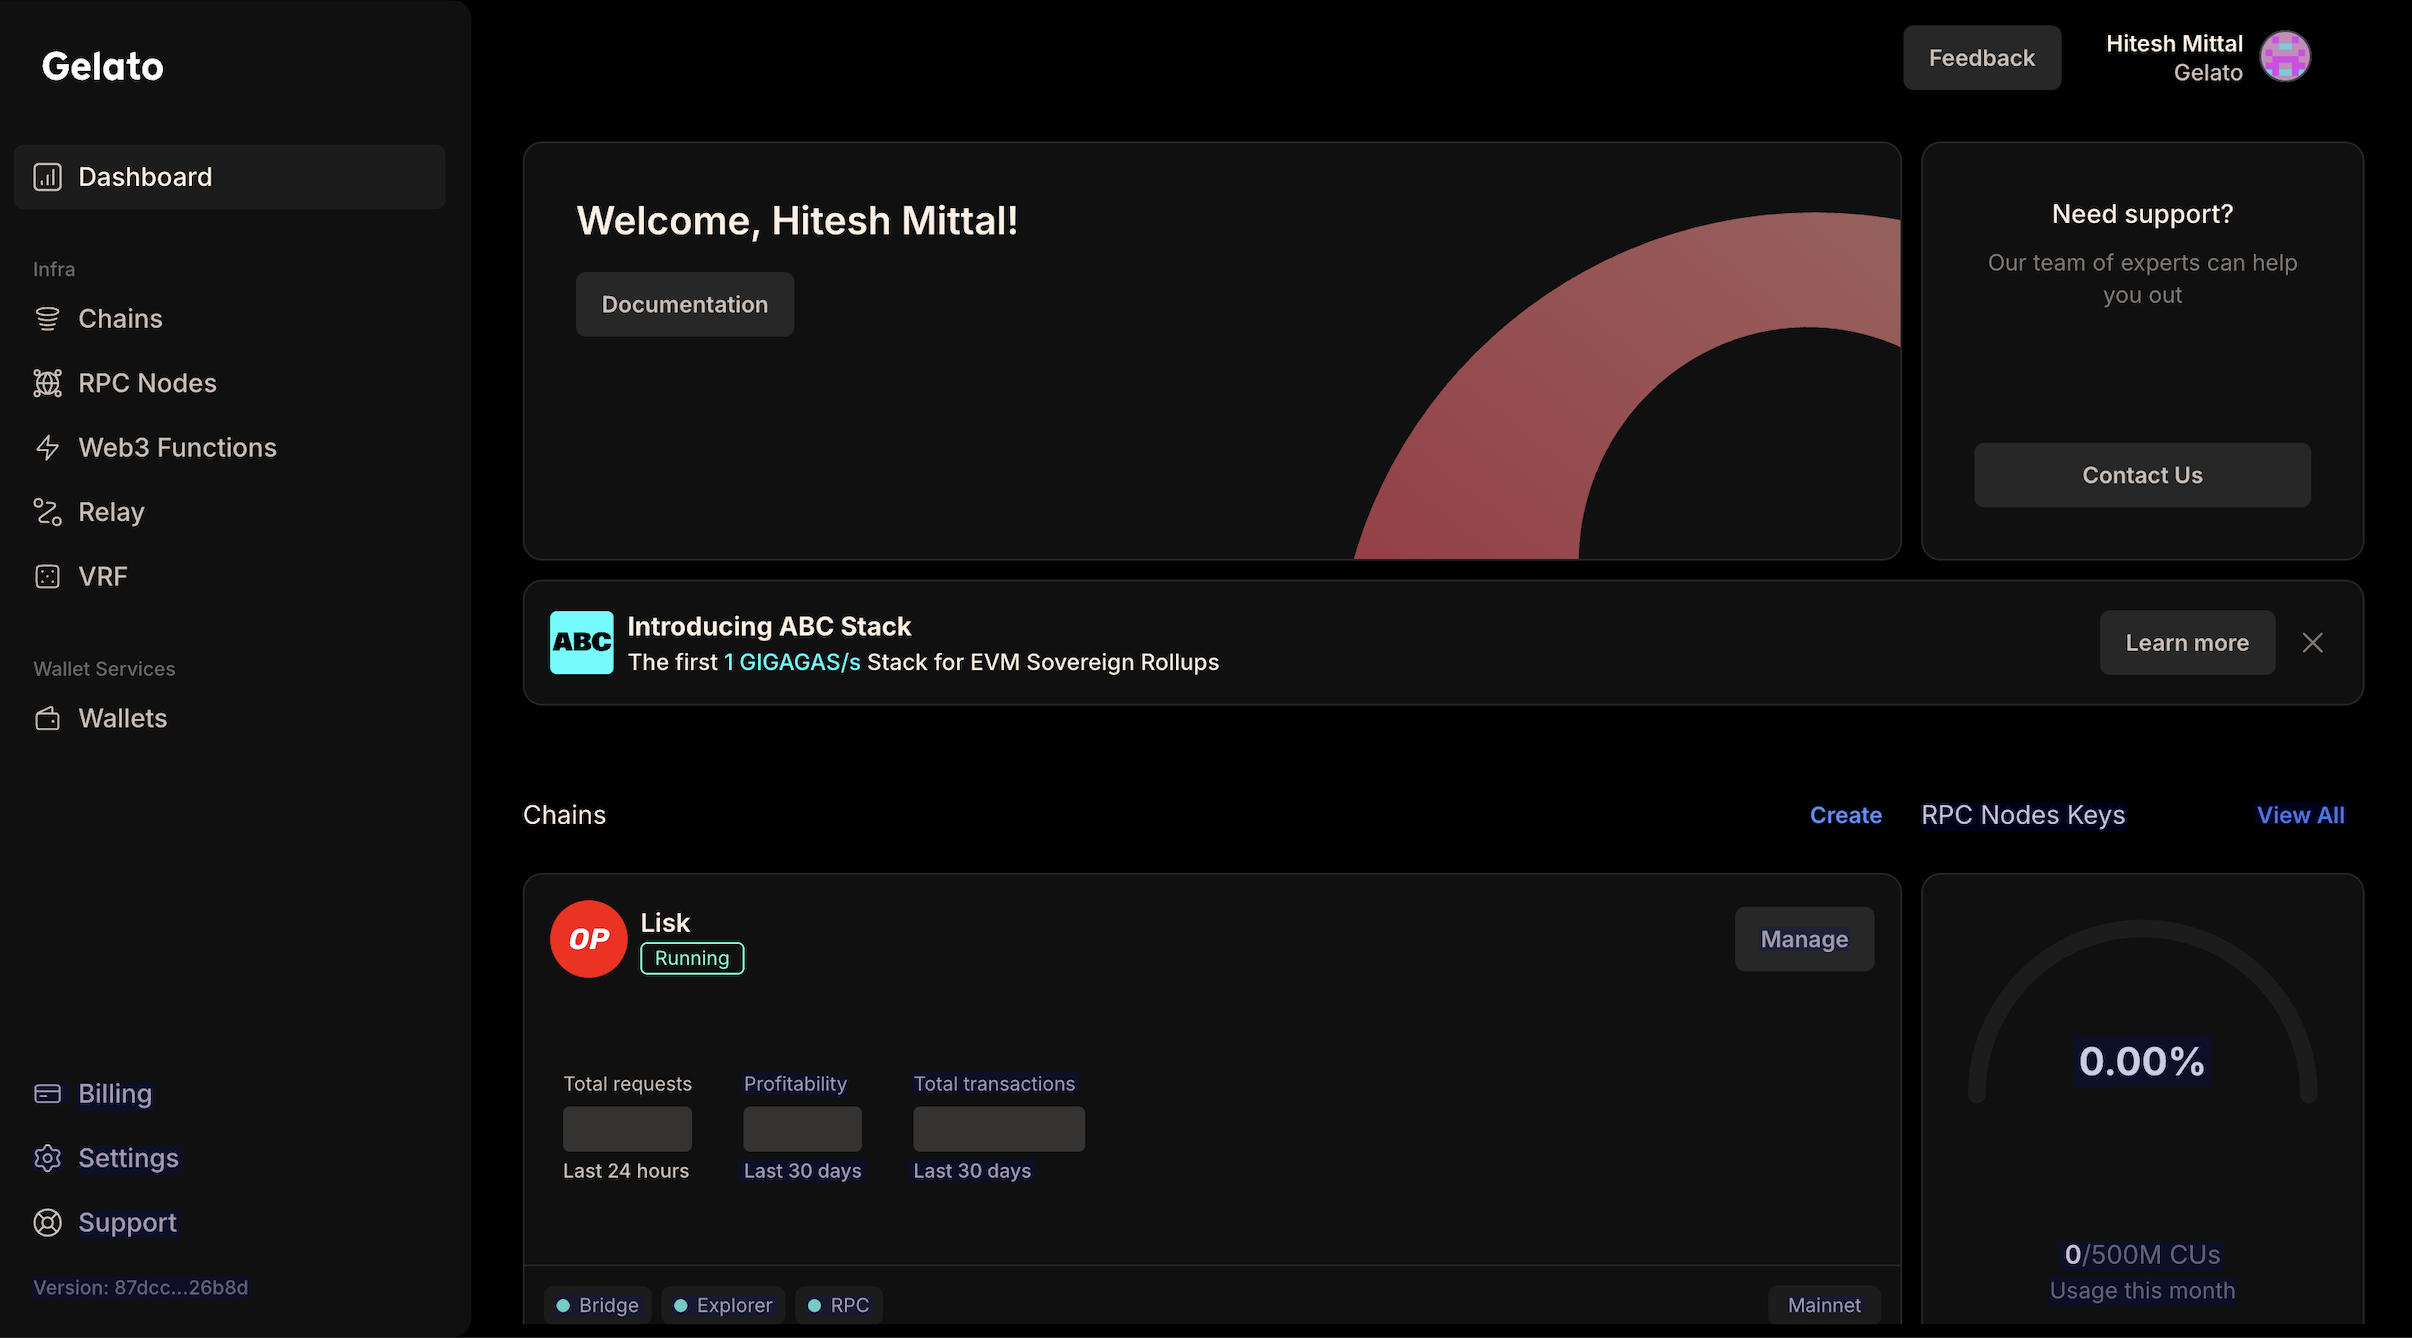 Provide a unique name for your rollup. Additionally, you can add a custom
preferred chain ID for your rollup.
Provide a unique name for your rollup. Additionally, you can add a custom
preferred chain ID for your rollup.
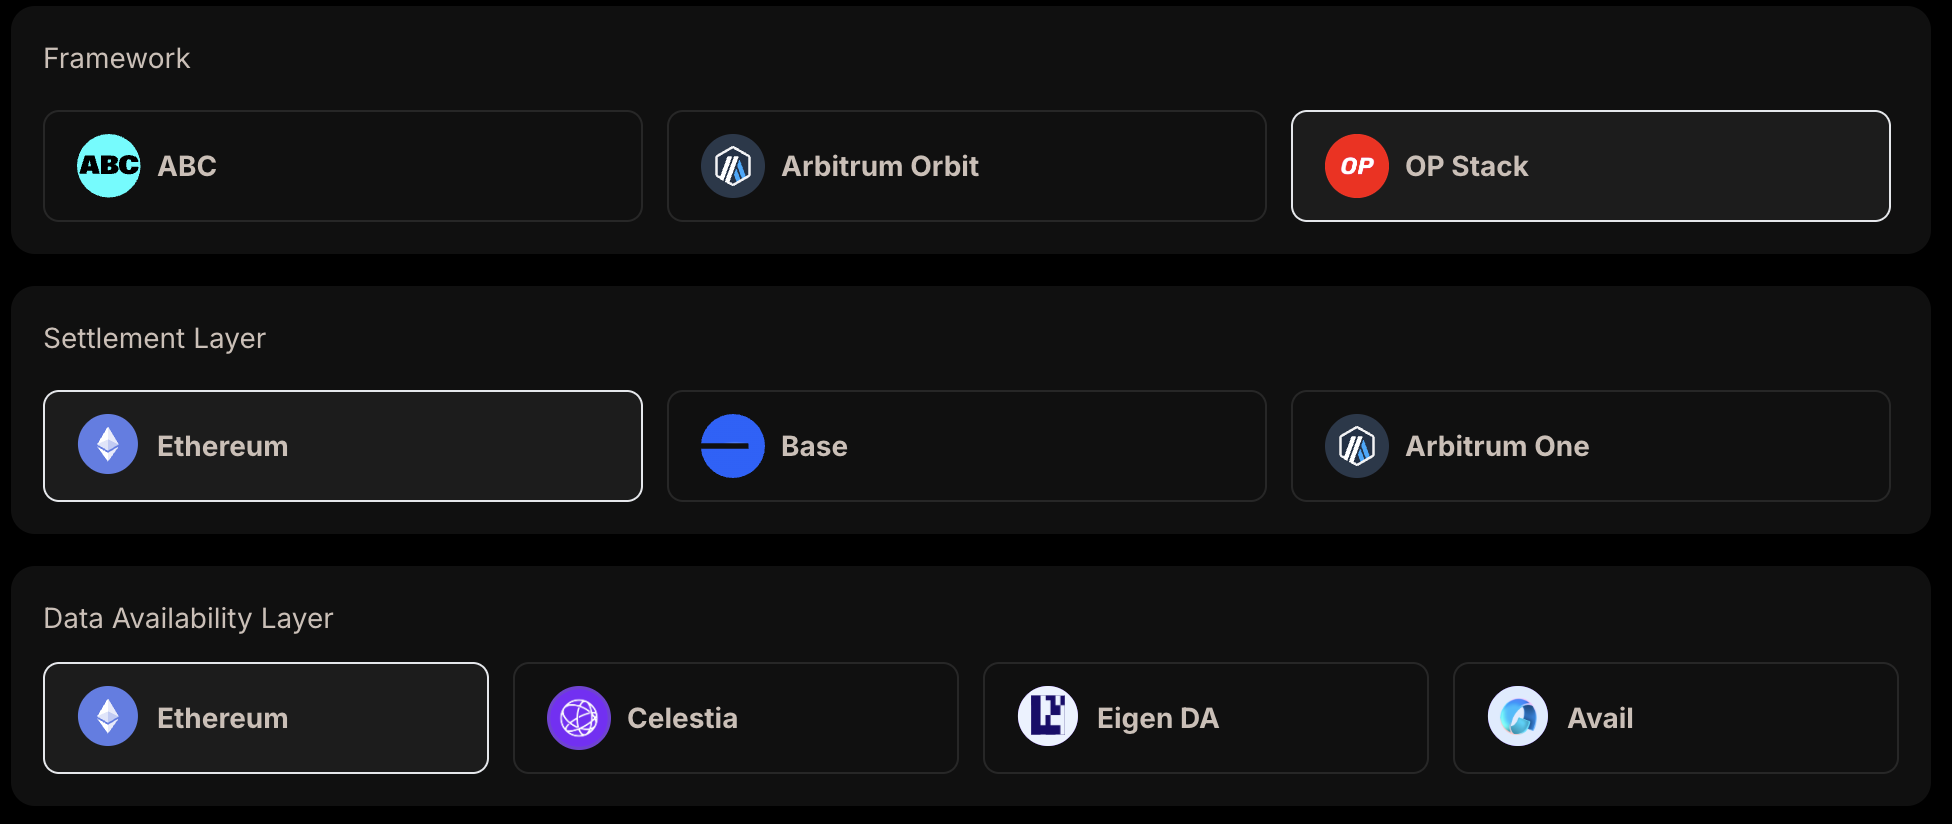
 Choose the rollup stack, settlement layer, and data availability layer for
your rollup.
Choose the rollup stack, settlement layer, and data availability layer for
your rollup.
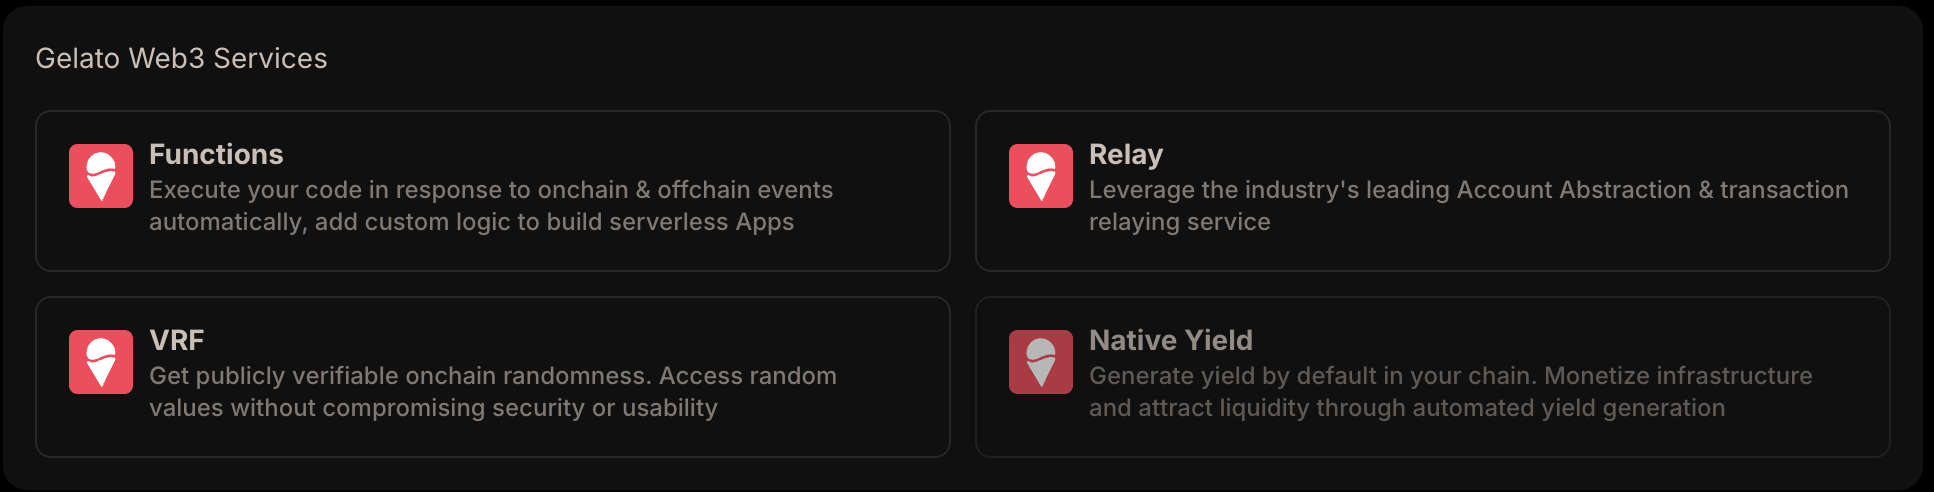
 Configure the web3 services for your rollup.
 Choose the environment you want to deploy your rollup to.
 Review the chain settings and click next and proceed to pay for your rollup.
## Dashboard Preview
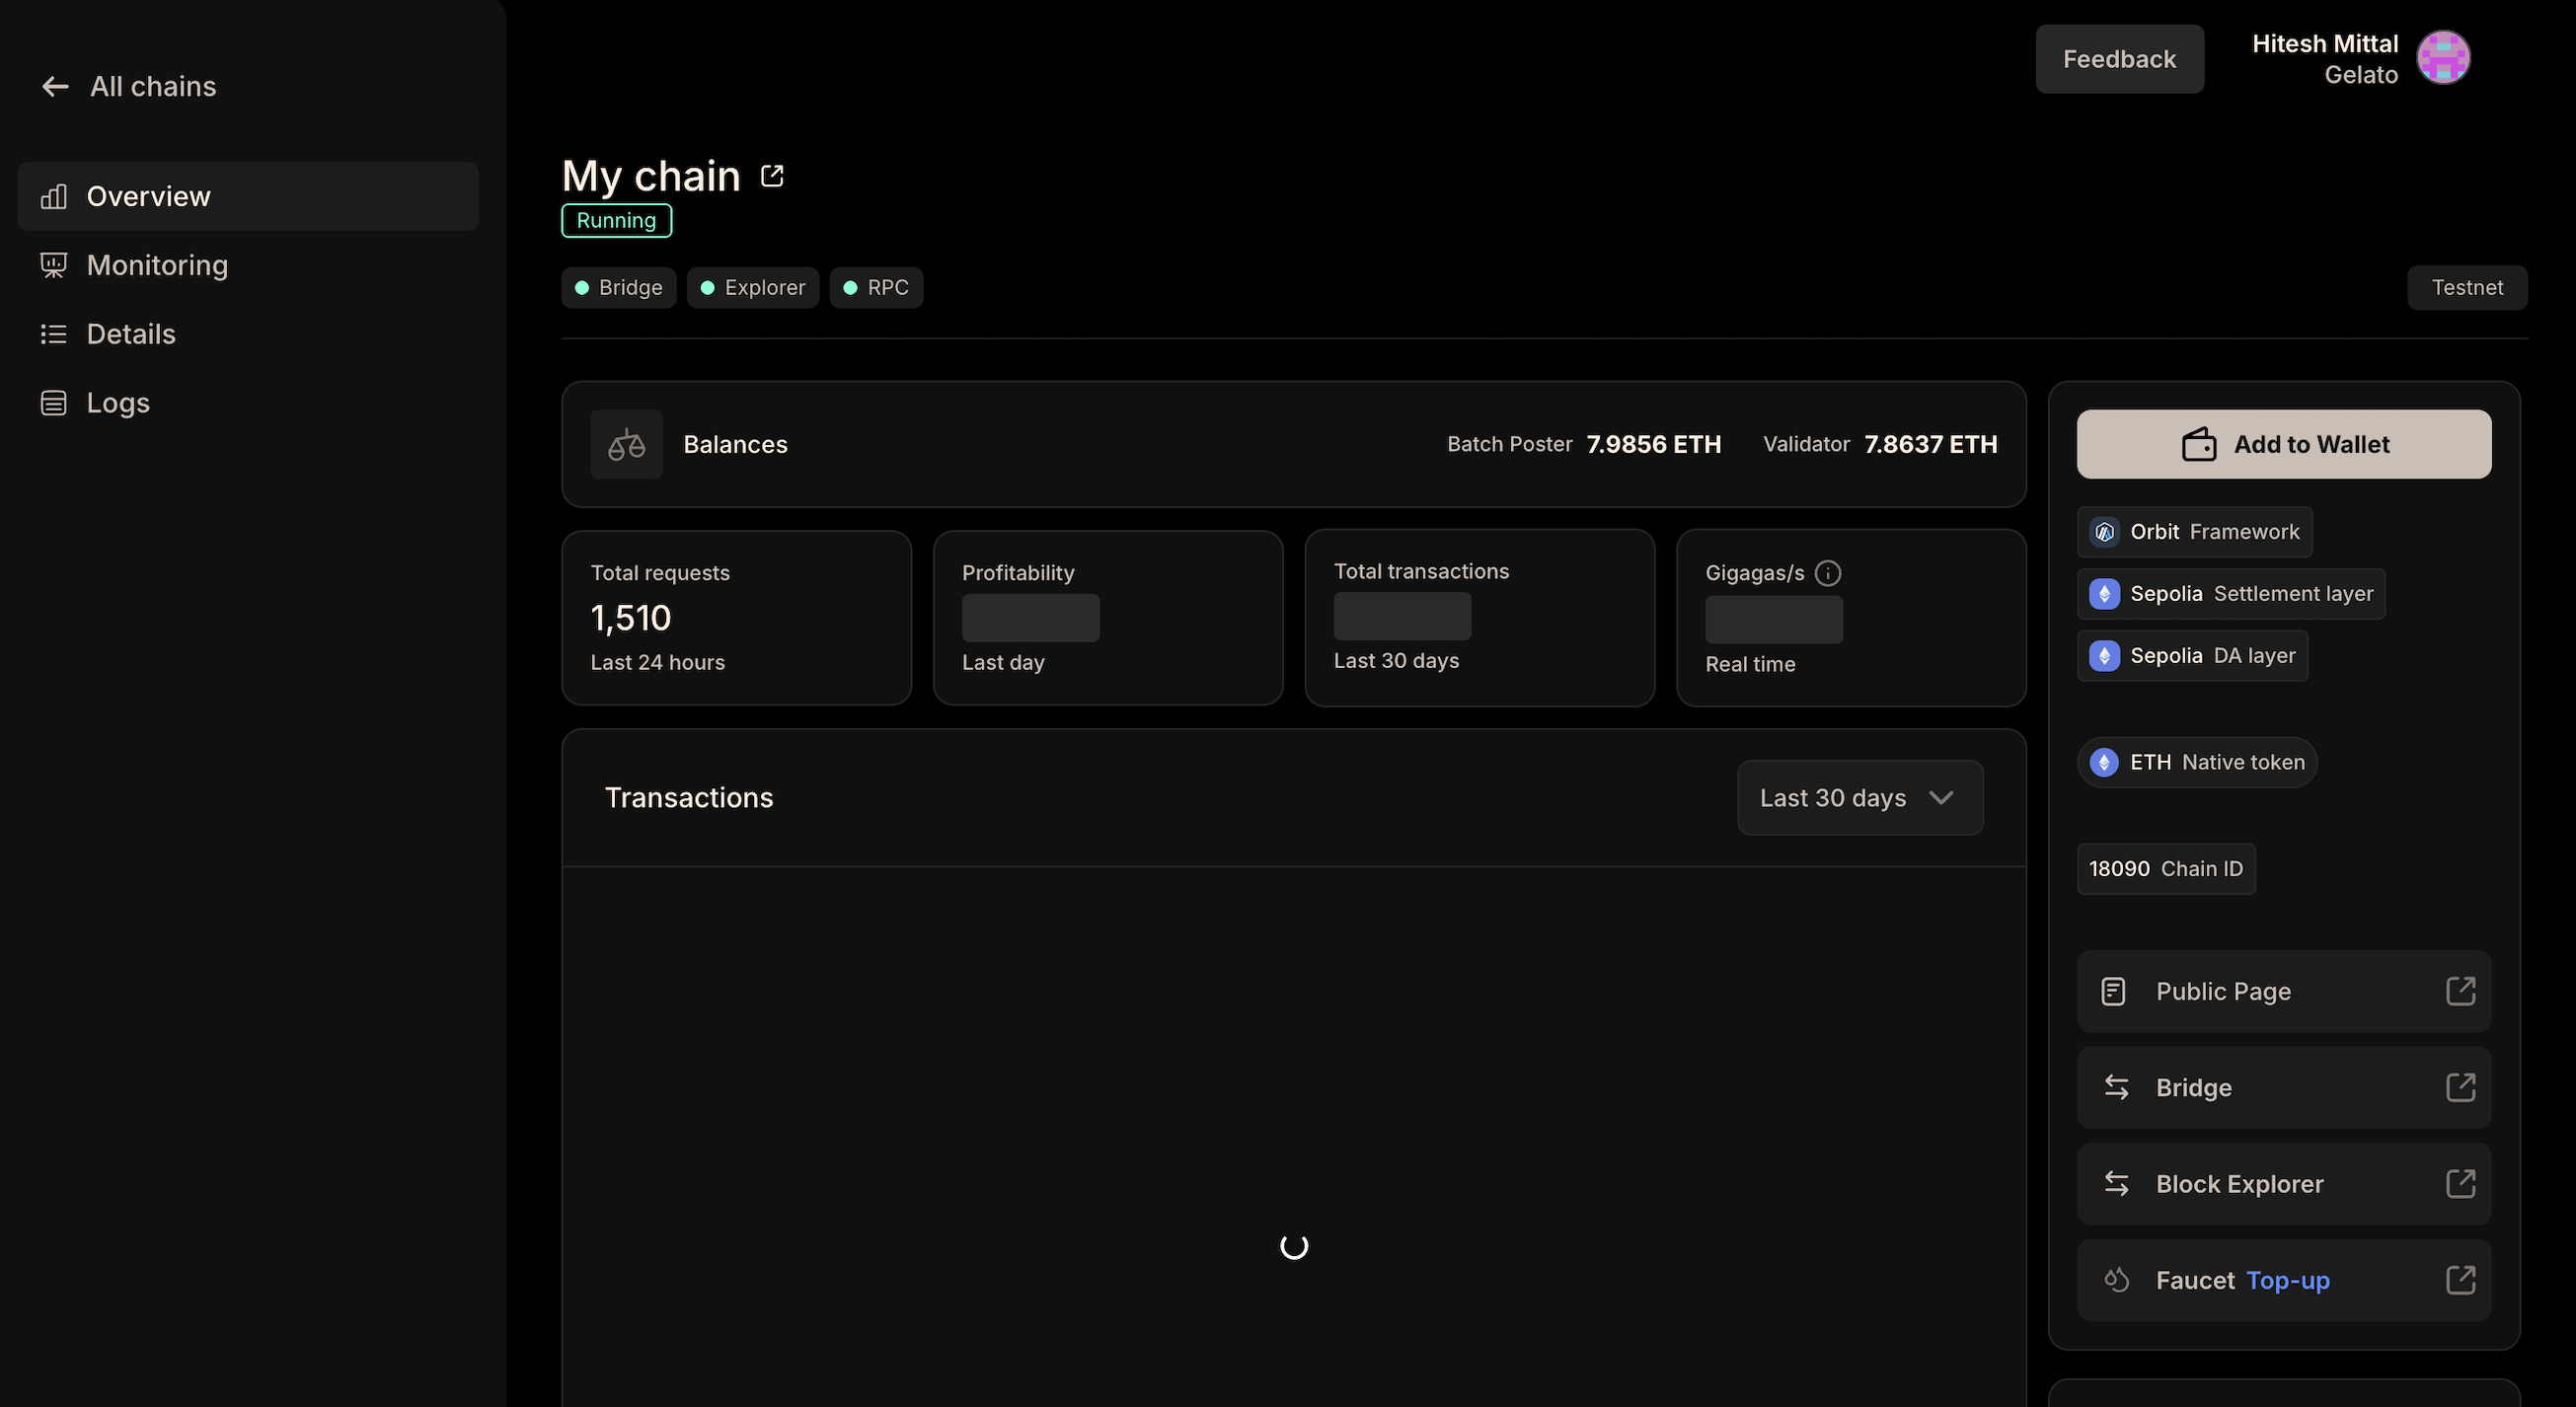
After deploying, your dashboard should look like the image below. Here, you can access the block explorer, bridge assets, rollup configuration, and more. Users can also check the logs, status, and analytics.
Review the chain settings and click next and proceed to pay for your rollup.
## Dashboard Preview
After deploying, your dashboard should look like the image below. Here, you can access the block explorer, bridge assets, rollup configuration, and more. Users can also check the logs, status, and analytics.