

What you’re going to Build
Rollup Node (op-node)
- Responsible for deriving L2 block payloads from L1 data and passing those payloads to the Execution Client
- Analogous to a consensus client in Ethereum
Execution Client (op-geth)
- Executes the block payloads it receives from the Rollup Node
- Exposes the standard JSON-RPC API used by Ethereum developers
Software Dependencies
Folder Structure
This guide supports running nodes for arbitrary Gelato RaaS chains, both
testnets, and mainnets. Feel free to use any folder structure that suits your
needs. For the purposes of this documentation, we will use the following
structure:
Create a JWT file
To communicate with op-node and enable the Engine API, you’ll need to generate a JWT secret file and enable Geth’s authenticated RPC endpoint.Obtain genesis.json and rollup.json
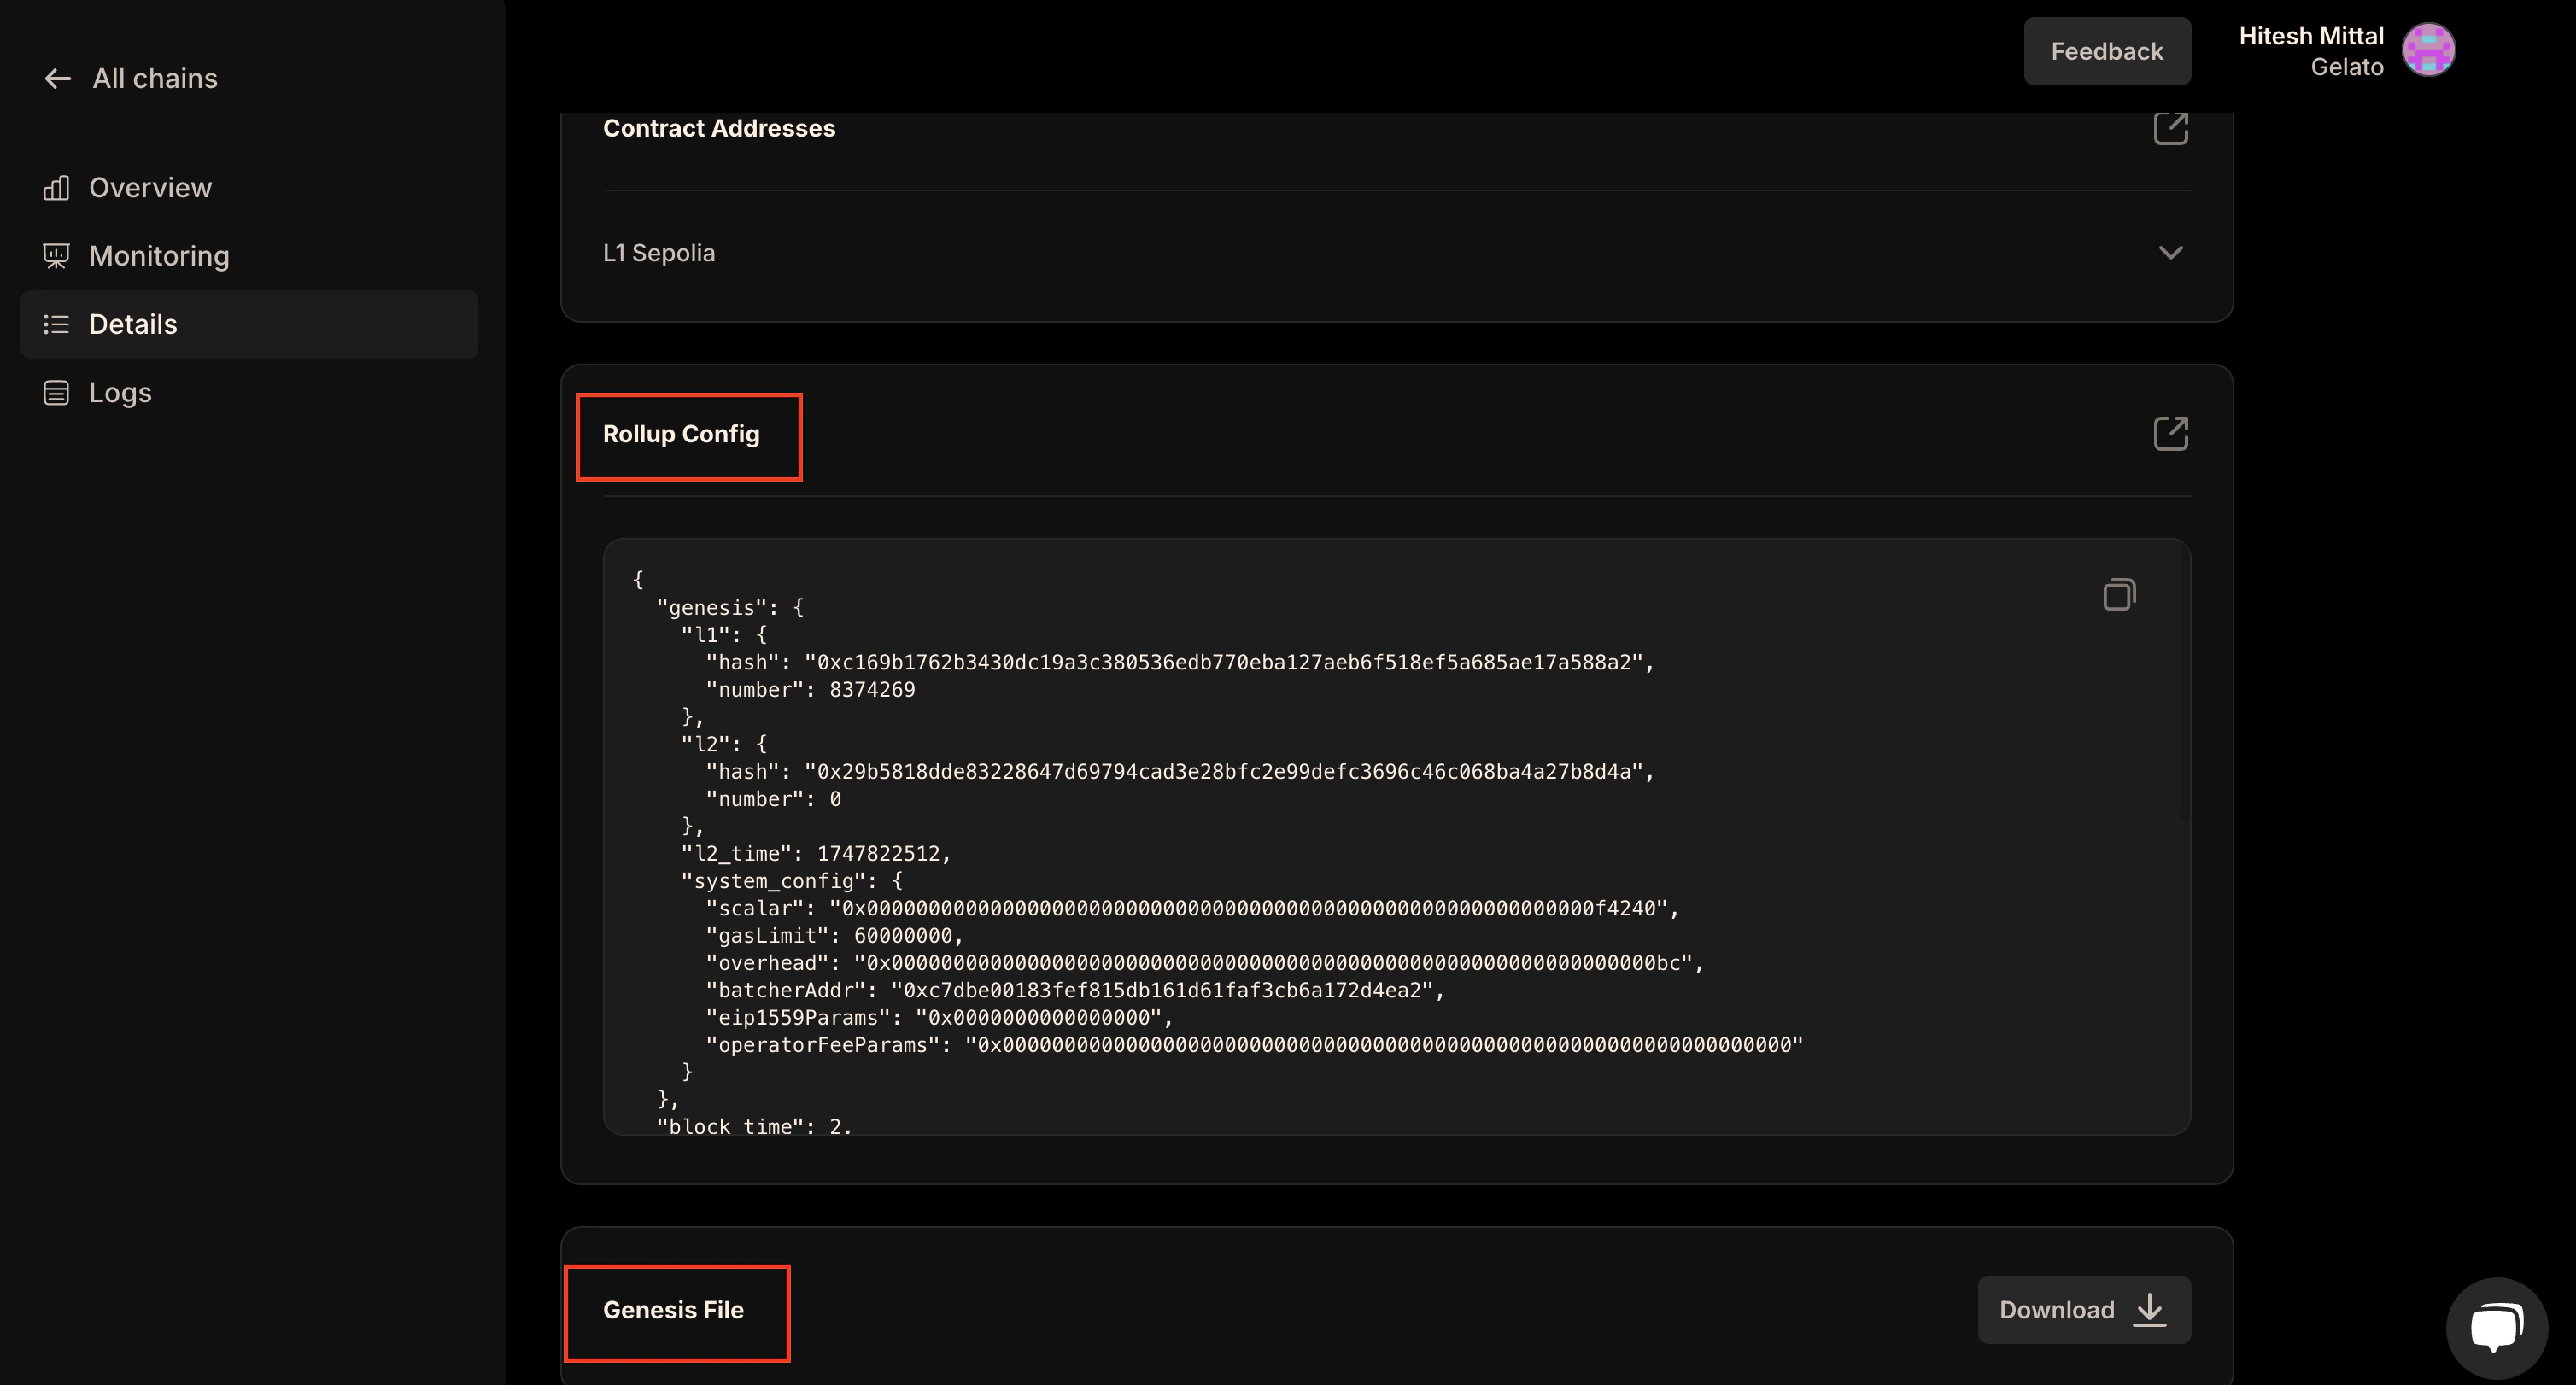
- Log in to your Dashboard
- Download
rollup.json(rollup config) andgenesis.json(genesis config) from the details section - Place them in your
config/testnetin the op-rollup-node directory
Build the Rollup Node
- Clone the Optimism Monorepo
- Check Out the Required Release Tag
- Build op-node
Build the Execution Client
- Clone op-geth
- Check Out the Required Release Tag
- Build op-geth
Running op-geth
- Create a Data Directory
- Create a .env File
.env file in the op-geth directory with the following content:
Initialize op-geth
Feel free to customize the base configurations provided in the Optimism
documentation to suit your specific requirements. While we will use the
recommended configurations for this guide, you can explore and add additional
flags as needed. Detailed information about execution layer configurations can
be found
here.
init-geth.sh:
Run the geth Node
Testing the Running Geth Instance
After starting your geth instance, you can test if it’s running and confirm the chain ID:Running op-node
We will utilize the base configurations provided in the Optimism documentation
for the consensus layer. However, you can adjust and expand these
configurations to fit your specific requirements. For a comprehensive
understanding of all available configurations, refer to the detailed
documentation on consensus layer configurations
here.
Create a .env File
Create a.env file in the optimism directory with the following content:
Ensure that op-node P2P ports (
<EXTERNAL_P2P_TCP_PORT> and <EXTERNAL_P2P_UDP_PORT>) are accessible externally via <EXTERNAL_P2P_IP>. This allows the node to communicate with other peers on the network.Add the sequencer node’s multiaddr to <STATIC_PEERS> in your configuration. This helps establish a direct connection with the sequencer, ensuring smooth operation and synchronization.